Ear care is an afterthought for many pet owners, but knowing how to clean your pet’s ears is an essential skill. Most groomers clean pets’ ears as part of their standard bath package, but pets who don’t need regular haircuts should have their ears cleaned at home. Because this can be daunting for the inexperienced, our Village Animal Hospital team shares a few do’s and don’ts to ensure a safe, effective, stress-free pet ear cleaning experience.
DO learn why and when to clean your pet’s ears
For healthy dogs who are free from skin conditions or chronic allergies, ear cleanings can be performed as needed—typically after bathing— to remove wax buildup. Cats whose ears are healthy generally don’t require maintenance cleaning. Pets who are predisposed to ear problems require more frequent cleanings to prevent or treat active infections. Predisposing conditions include:
- Frequent swimming or bathing — Moisture can allow normal microflora to overgrow.
- Food or environmental allergies — Inflammation from allergies breaks down normal defenses, resulting in infections.
- Conformation — Dogs who have floppy ears, such as basset hounds and cocker spaniels, or who have narrow canals, such as Shar-peis, have reduced ear canal airflow, which allows for moisture buildup and subsequent infection.
- Ear polyps — Benign ear canal growths can cause inflammation or block airflow, leading to infection.
DO consult your veterinarian
Our veterinary team can recommend an ear cleaning frequency schedule based on your pet’s medical history, breed, and lifestyle. For some pets, a monthly cleaning is enough. For others, our veterinary team may recommend cleanings every one to two weeks or after every swim session or bath. Our Village Animal Hospital veterinarian can also recommend the appropriate ear cleaning product for your furry pal’s needs and provide an ear cleaning technique demonstration.
DO gather pet ear cleaning supplies
Use a pet-safe, veterinarian-recommended ear cleaner. Although some products are suitable for routine, preventive cleaning, others target specific issues such as bacteria, yeast, moisture, cell turnover, inflammation, or excess wax. Additional necessary supplies include cotton balls and tasty treats to reward your pet for cooperating.
DO follow the proper ear cleaning technique
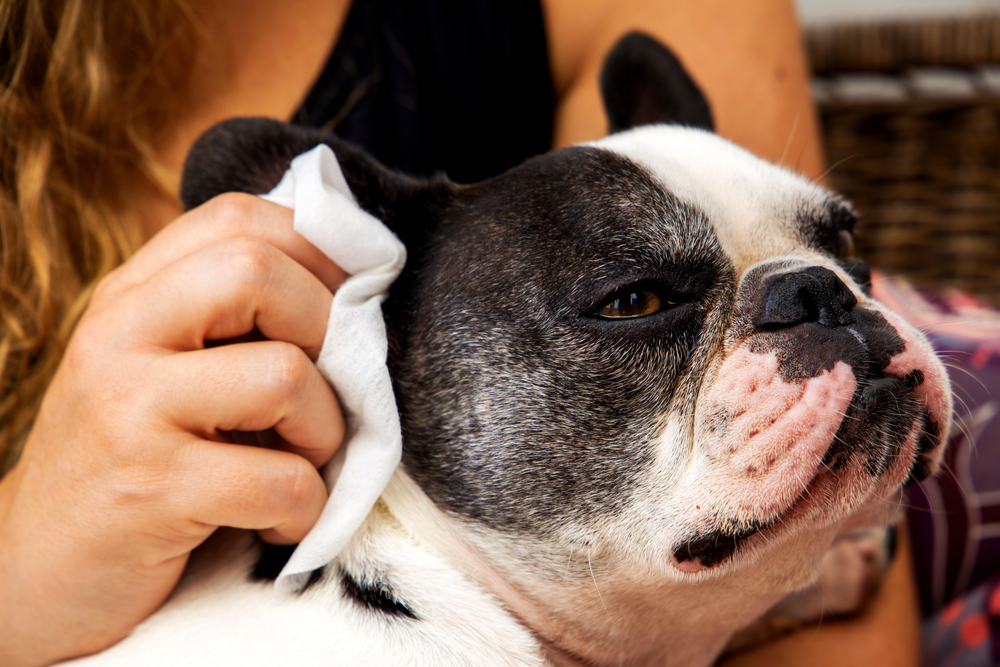
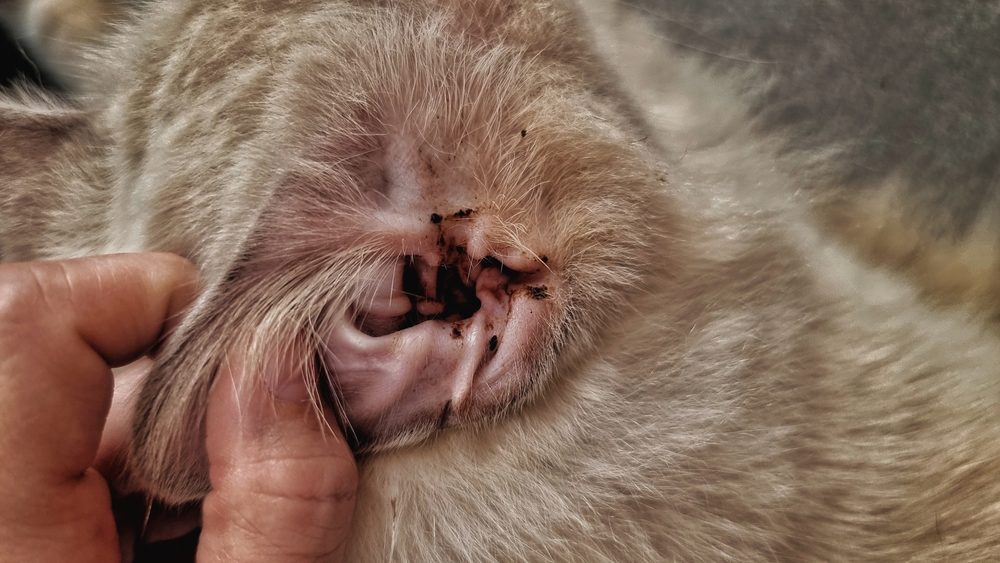
Before diving into the cleaning, check for infection signs, such as redness, swelling, or an unpleasant odor. If you notice these, a cleaning could cause your pet pain, and you should schedule a veterinary visit instead. Otherwise, follow these steps:
- Step #1 — Fill the ear canal with cleaning solution.
- Step #2 — Massage the ear base to loosen wax and debris.
- Step #3 — Place a cotton ball gently into the ear canal and continue massaging the ear base, pushing the dirty ear solution upward onto the cotton.
- Step #4: — Remove the dirty cotton ball. Use more cotton balls to wipe out the remaining debris.
DO provide a positive experience for your pet
Your pet’s ears are sensitive, and a calm, gentle, and positive approach makes the experience comfortable and tolerable. When possible, have another person help you by asking them to gently hold your pet and hand your furry pal treats while you clean. Stop the cleaning if your pet struggles. If you have difficulty encouraging your pet to cooperate during ear cleanings, consult a trainer or veterinary professional for tips on how to acclimate your pet to future ear cleanings.
DON’T use cotton swabs during pet ear cleaning
Sharp objects, such as cotton swabs or your fingernails, can damage the ear canal and sensitive eardrum or push debris further into the ear. Never put anything into your pet’s ear past the outer opening and always use cotton balls rather than cotton swabs.
DON’T clean your pet’s ears too frequently or too aggressively
Cleaning your pet’s ears too frequently or aggressively can cause more harm than good. Stripping the protective ear wax or rubbing too aggressively during cleaning can cause inflammation, which can then lead to discomfort or infection. Similarly, avoid using harsh cleaning solutions, such as alcohol or peroxide, which damage ear cells.
DON’T forget to dry your pet’s ears after a cleaning

Drying your pet’s ears after cleaning ensures moisture isn’t left behind that could allow infection to brew. Most commercial ear cleansers contain drying agents for this reason, but you should try to remove as much cleaning solution as possible without irritating the ear canal. Toward the end of the cleaning, encourage your pet to shake their head by blowing lightly into one ear. Head shaking helps remove residual moisture.
Ear cleaning is an important skill to learn if you want to maintain your pet’s ear health at home and provide proactive care if your furry pal is predisposed to ear infections. Schedule your pet’s visit with our Village Animal Hospital team for an ear cleaning demonstration and ear product recommendations, or if you are concerned about your pet’s current ear health.


Leave A Comment